Remote Power Control Cabinets
|
Banding Mount Installation
Required Tools + Materials
Assembly + Installation Guidelines
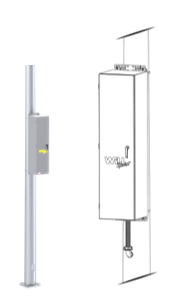
Each power control cabinet is shipped individually packaged with labels identifying the location where the cabinet will be installed.
Consult your project manager for proper heights and locations to add drilling provisions to the existing poles.
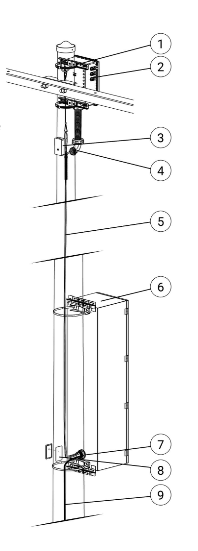
Mount the provided clamp bands (specific to top and bottom of the box) to the light pole and slide the power cabinet into the band, adhering it to the pole. Install the top clamp band first and then secure the bottom clamp band. (Torque Specs - 35 in-lbs.)
Snake the wiring harness through the bottom of the box and open the box cover and connect to the DC power supply.
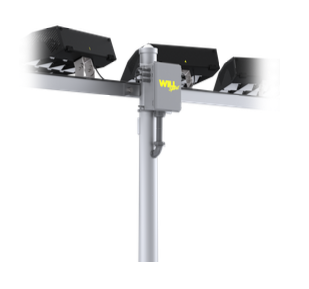
Projects may require multiple cabinets per pole. Consult your project manager for additional guidelines if applicable.
Do not connect to the AC power supply until all DC wiring harness installation is completed.
|
|
|
|
|
|
DC Wire Harness
Required Tools + Materials
Assembly + Installation Guidelines
The wire harness must feature proper strain relief. Failure to provide proper strain relief will void any Wisconsin Lighting Lab, Inc. warranties provided for the system.
|
|
Attachments
-
RPC Install Guide.pdf 4.0 MB · PDF
▸ Preview inline ▾ Hide preview