Glare Cup Installation
·
Site Admin
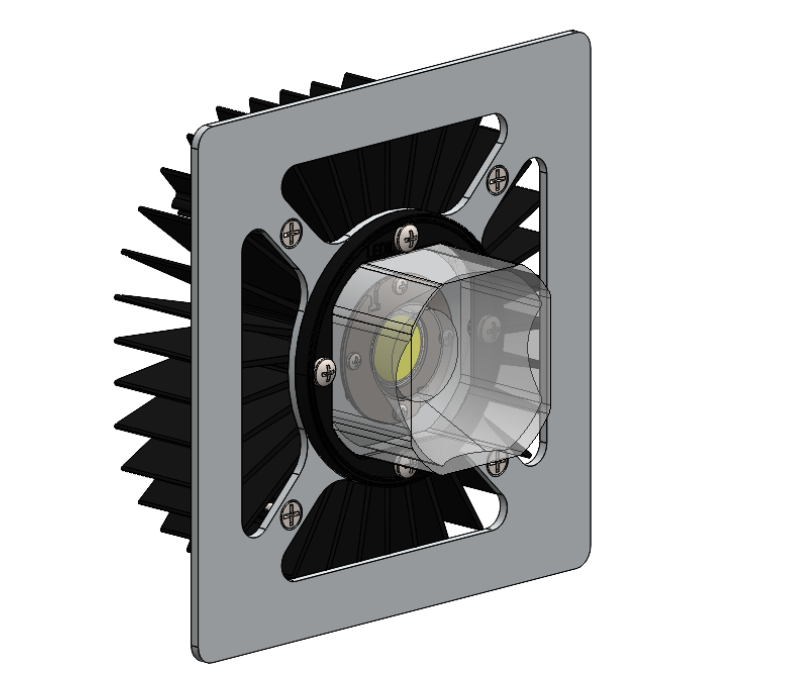
Step 1: Power Off
Disconnect power to light fixture. Locate the 5N optics as shown below and install the glare shield only on those optics.
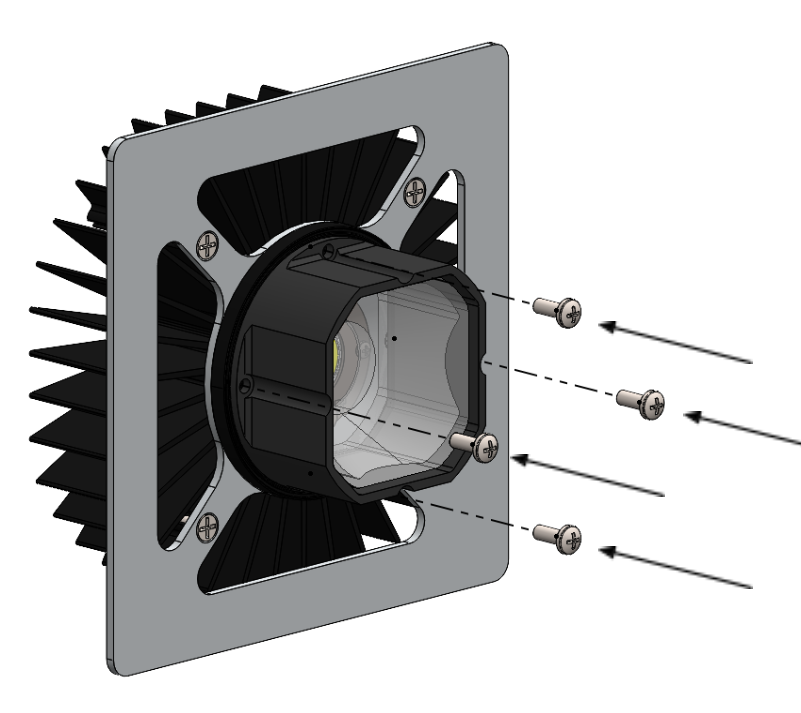
Step 2: Remove Screws
Unscrew and remove the 4 existing screws. Avoid taking optics fully off and be sure to not touch LEDs.

Step 3: Place Glare Cup
Place the glare cup over the existing optics and retainer.
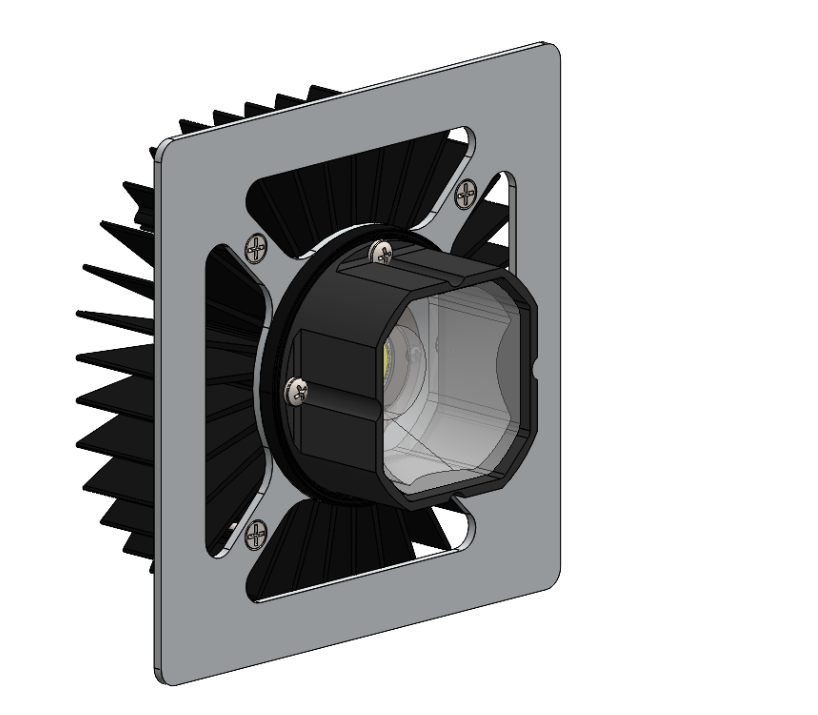
Step 4: Secure Glare Cup
Refasten the previous screws, tightening to 0.4Nm torque.
Attachments
-
5N - Glare Cup Installation Guide.pdf 465.0 KB · PDF
▸ Preview inline ▾ Hide preview